A pretty springtime garland is the perfect way to add a pop of color to your home. You can place it on a doorway, mantel, mirror, or anywhere else you desire. A spring garland is the best way to spruce up your home in time for spring.
What You Need
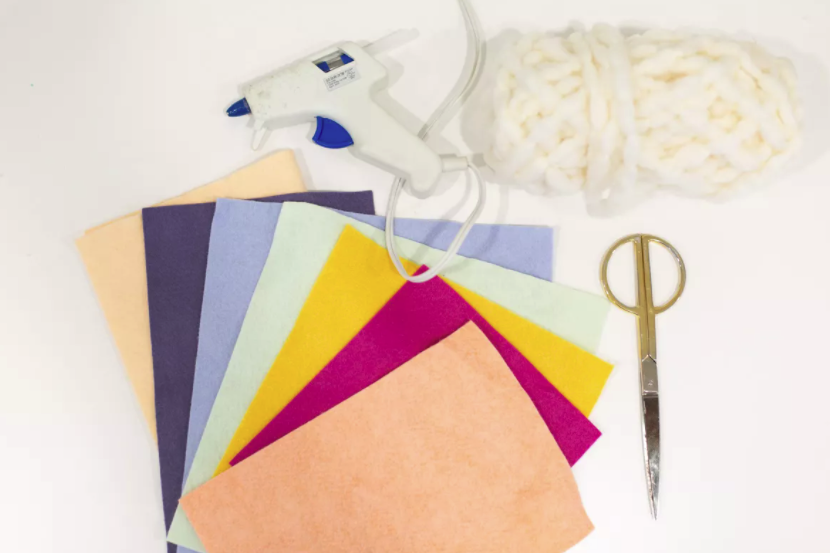
What You Need
-glue gun
-scissors
-thick yarn
-sheets of felt in spring colors
-wooden beads
What To Do
Gather your materials. Make sure that the skein of yarn you use is extra thick so that when you’re in the finger knitting portion of the project your yarn will be able to suppose the flowers you add to the garland.
Start out by finger knitting a case for the garland. Take one end of the yarn and secure it around your thumb. Wrap the long end under your pointer finger and then bring it between your middle and pointer fingers.
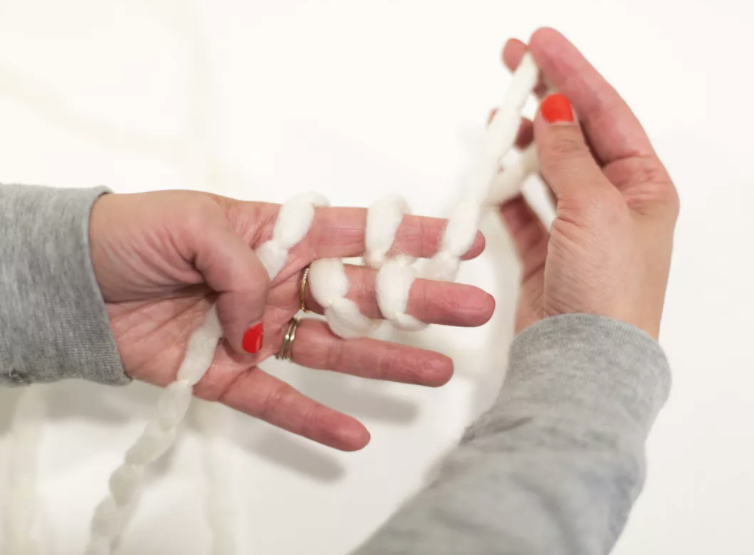
Create A Base
Wrap it over, around, and then under the middle finger, bringing it back between the two fingers. Repeat this again and wrap it over, around, and under your pointer finger and then the same around the middle finger. Finish by laying it over the pointer finger once again.
Now start finger knitting by placing two loops of yarn over each finger. Start with your middle finger and pull the loop that’s near your palm over the loop and over the top of your finger, so it falls behind your finger.
Taking the long end of the yarn and wrap it around your finger and then do the same with your middle finger. Wrap the long end around each finger again so then you have two loops again. Then repeat the process over again.
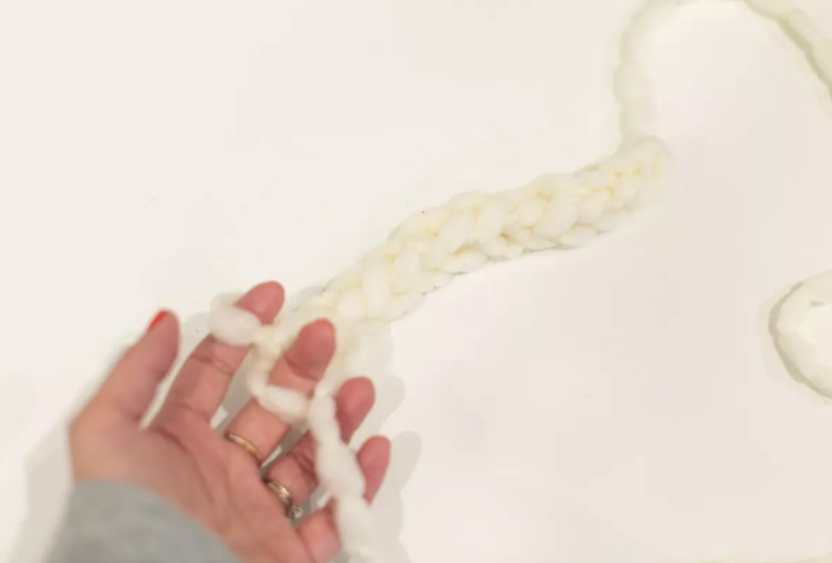
Grow Your Garland
Repeat this until you reach a length that your desire. You can see how your garland grows and grows and then decide when it’s enough. Pull the loops off your fingers and cut the yarn. Thread it through the two loops and create a knot.
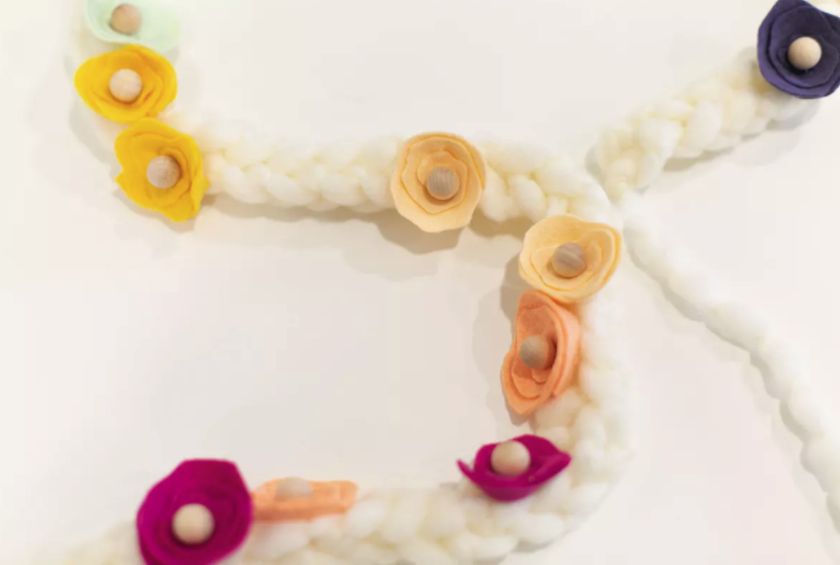
Next you’ll start cutting out your felt flowers. With a 3-inch square, cut a wavy spiral around the outer edge of the felt. Next glue the inner edges of the spiral so that it coils around itself and becomes a flower shape.
Glue a small wooden bead in the center of the felt flower. Once you have your flowers, glue the felt flowers onto your finished garland.
Now you can drape your beautiful spring garland anywhere you like!
Final Product