With Some Patience, You Can Absolutely Do It Yourself
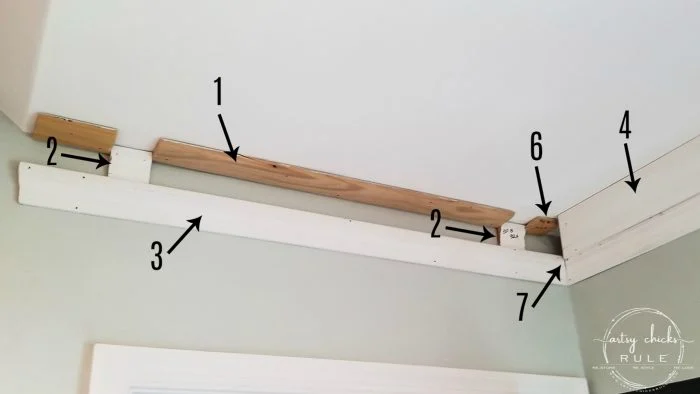
First, you need to gather your materials. For this project, you’re going to need the crown molding itself, a miter saw, a coping saw, a level, a nail gun, caulk for adhesion, measuring tape, and paint (or a stain, depending on the look you want) to finish it.
Start out by measuring the room’s perimeter where you want to add the crown molding. Once you’ve determined how much you’ll need, you’re going to want to buy some extra just in case. Trust us, you will be glad you did, in case of any mistakes made! Have a plan fr your layout, especially around corners where the molding will be joined.
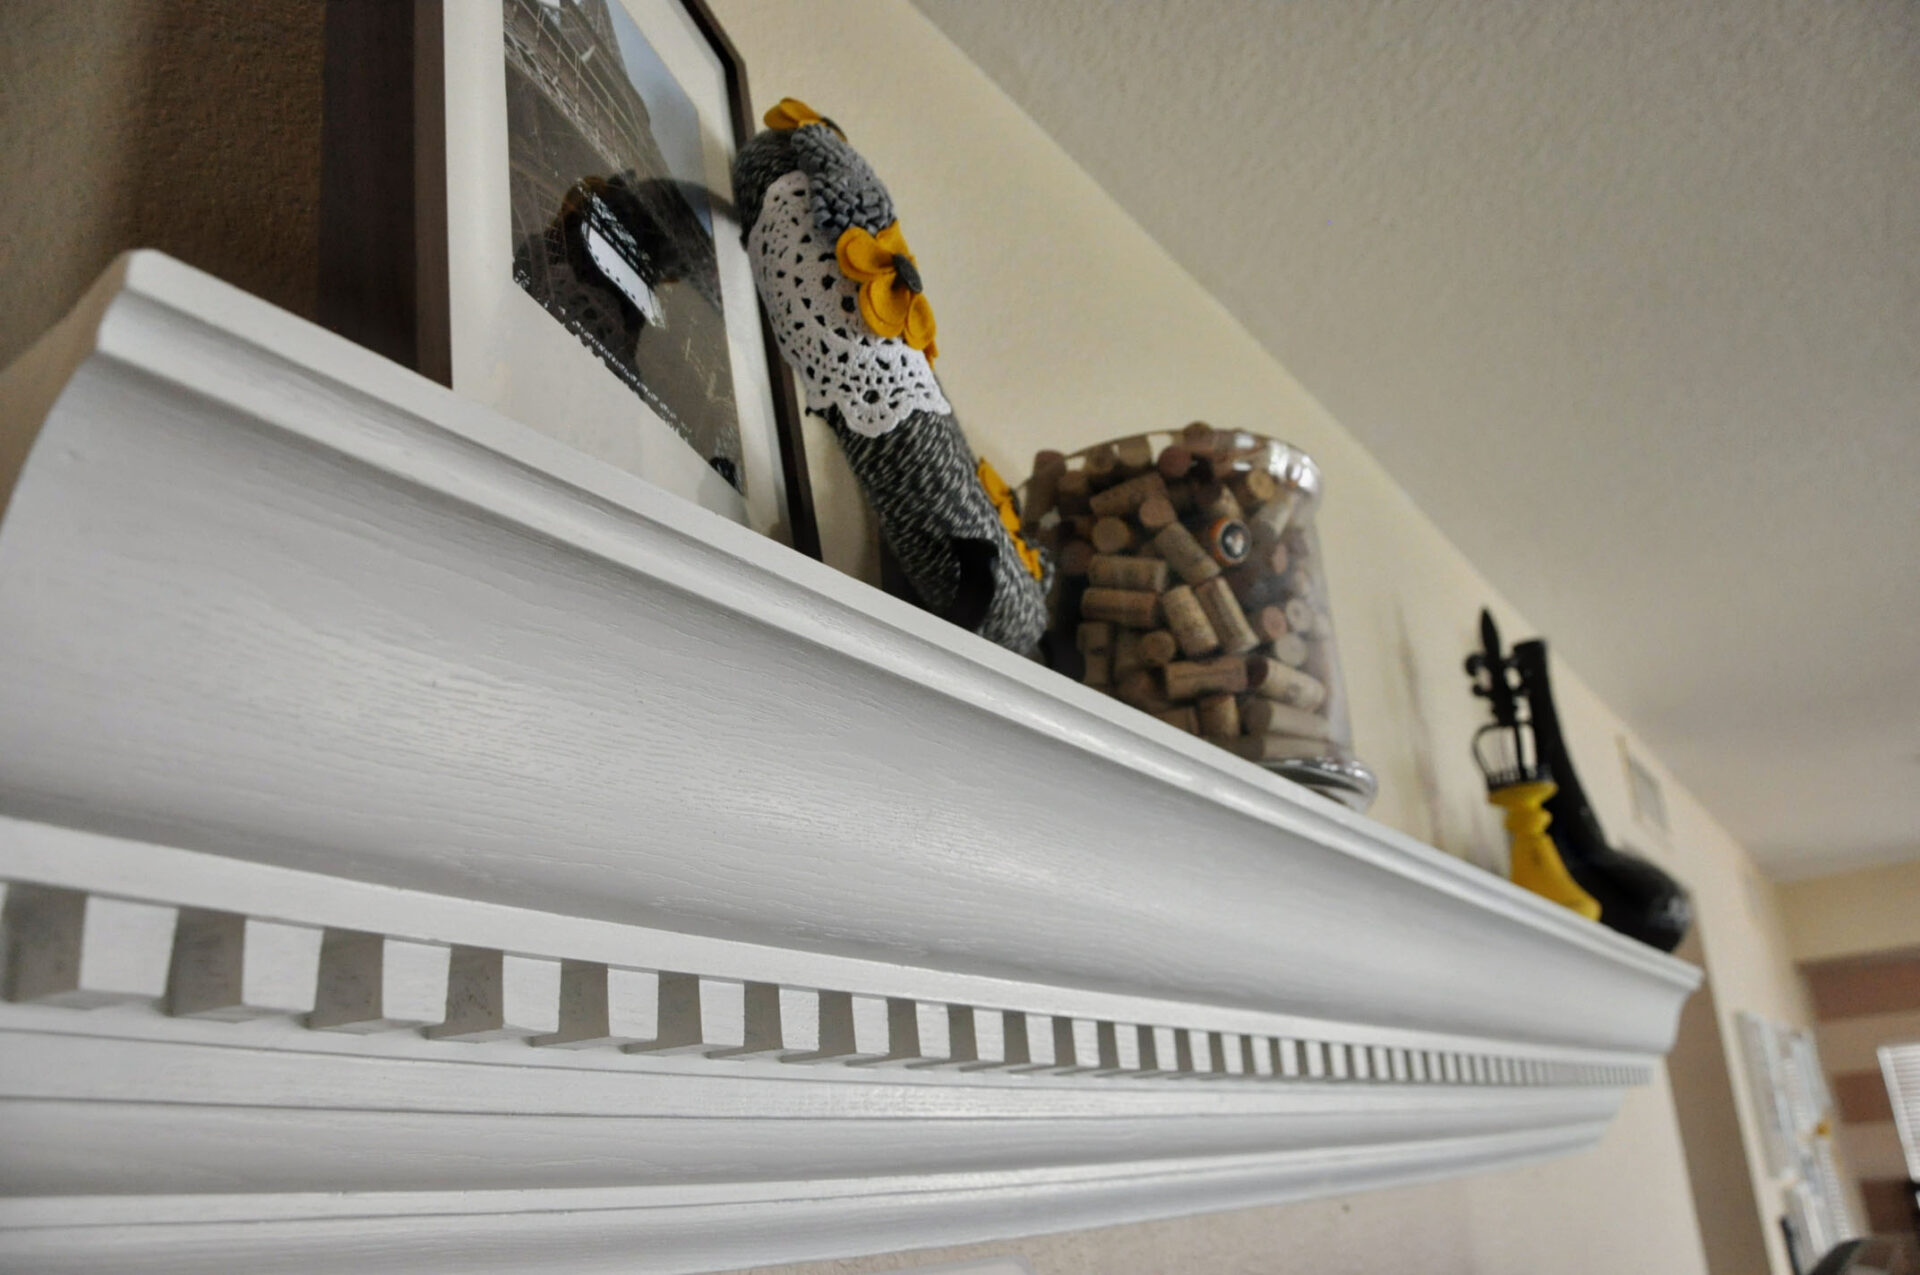
You Can Elevate Any Area Of Your Home
Using the miter saw, cut your first part of the crown molding that will go on the wall. The cuts need to be made at compound angles into order to be installed properly. Make sure it fits on the wall by holding it up against the wall, and then attach it using a nail gun. Make sure you install them into the wall studs.
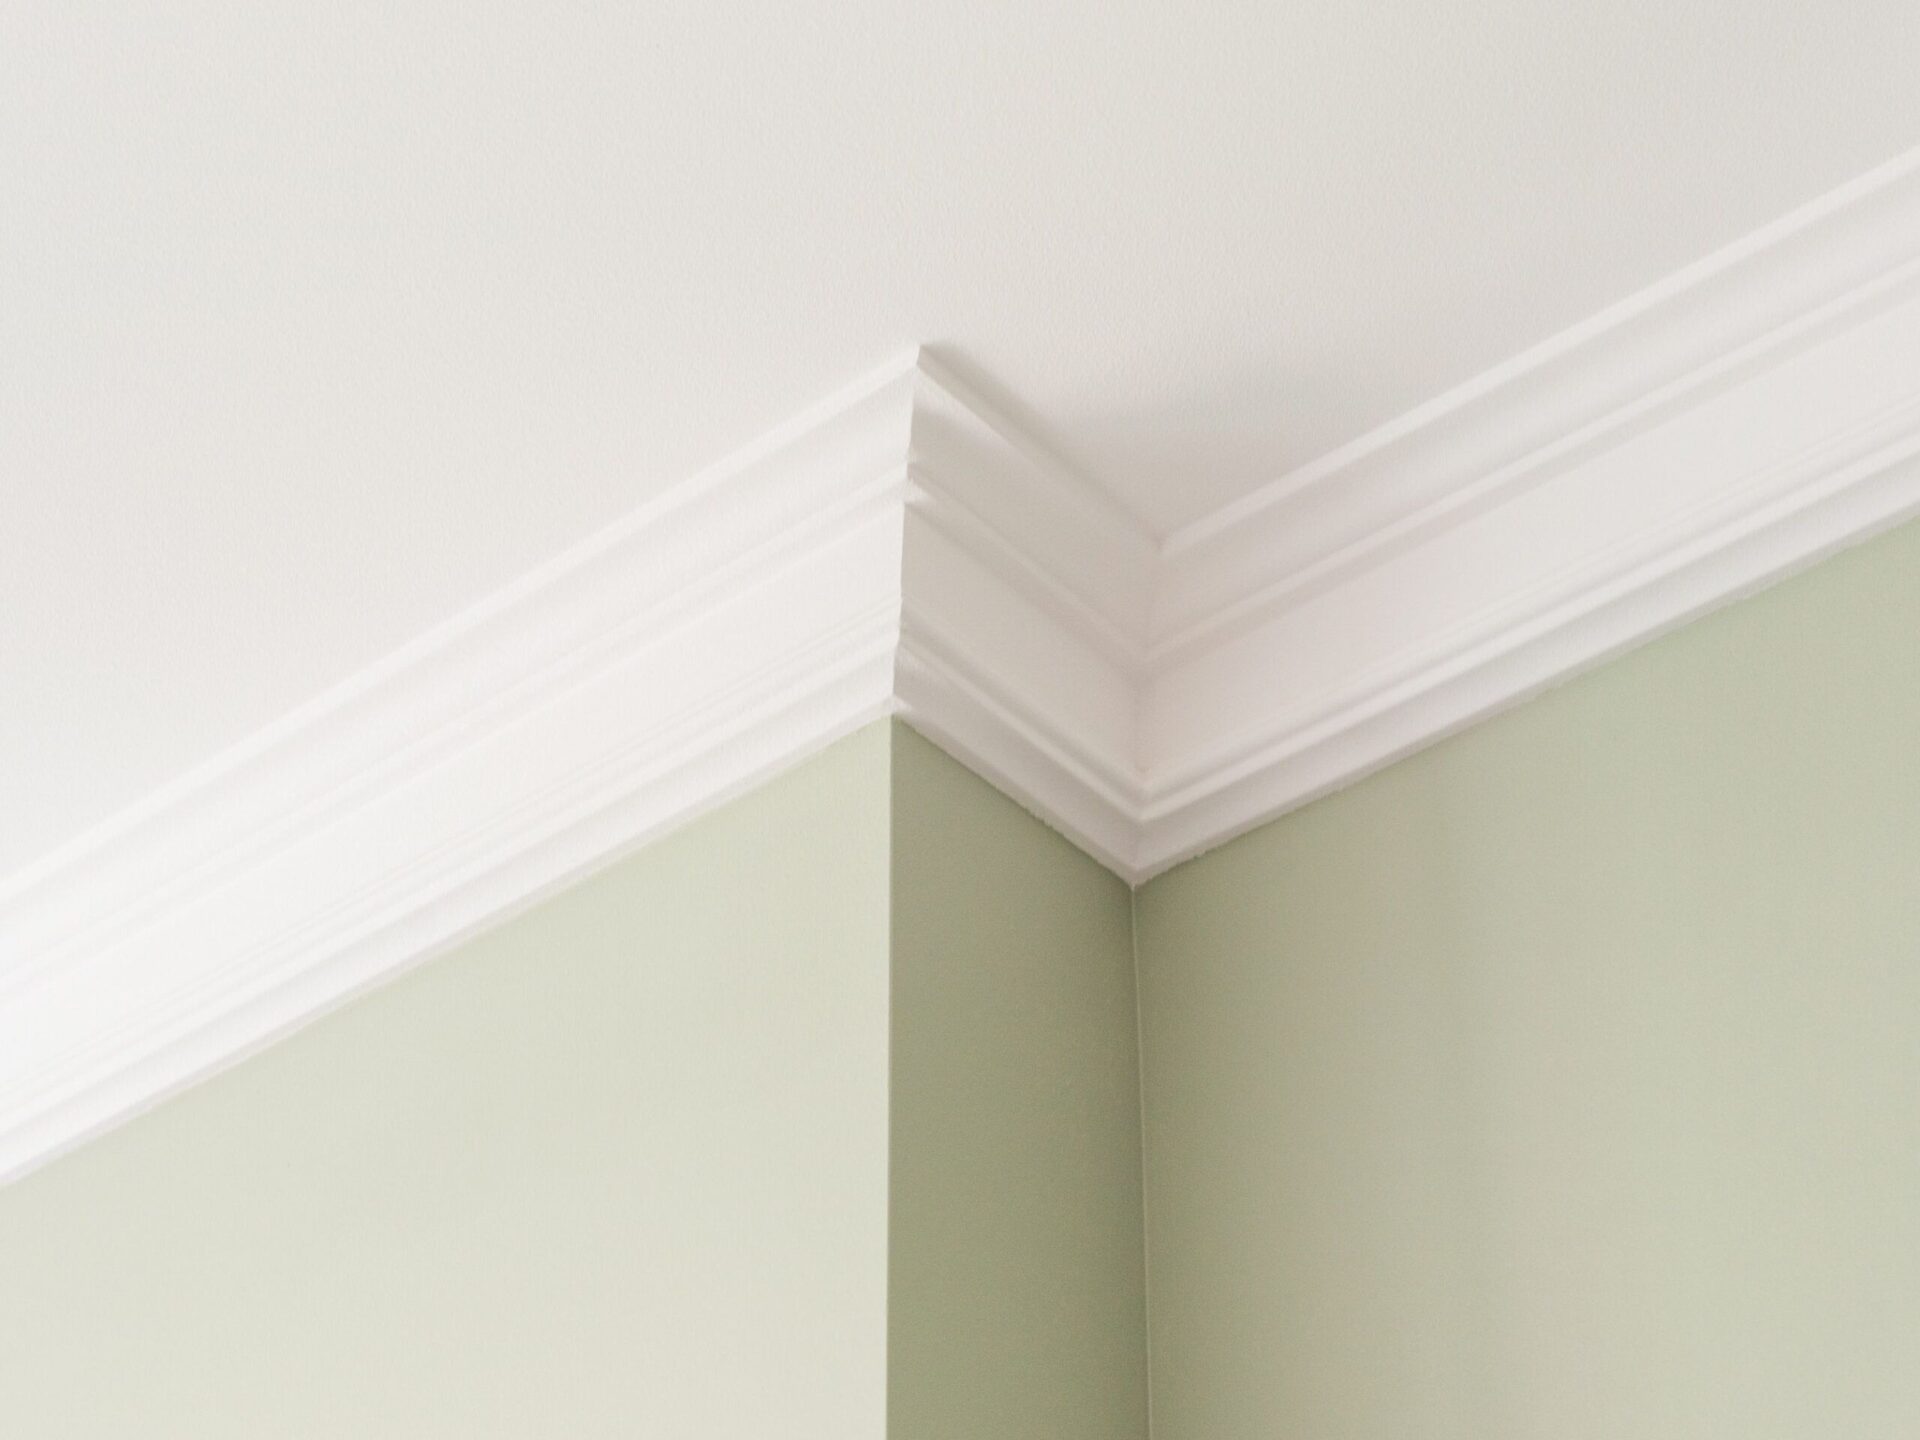
Angles Can Get Tricky
Corners will require a little more attention as they can be a little more tricky, but you can do it. You can start by cutting the crown molding at a 90 degree angle and using the coping saw cut along the edge of the profile to make sure you follow the contours. This will ensure that you’ve made a perfect cut against the first piece you cut, even if your corner is not exactly at a 90 degree angle.
Then, for outside corners, you can use the miter saw to cut crown molding at a 45 degree angle. That way, the angles will add up to 90 degrees and fit perfectly.
After you’ve installed all of the pieces, you can fill in any gaps with caulking. Sand any rough edges to create that perfect, seamless look. Finally, you’ll want to finish the project with paint or stain.
Enjoy your beautiful DIY crown molding! It will add unique character into your living space, and you’ll enjoy the results even more knowing that you created it yourself. You can use the money you saved by doing it yourself to to something you enjoy!
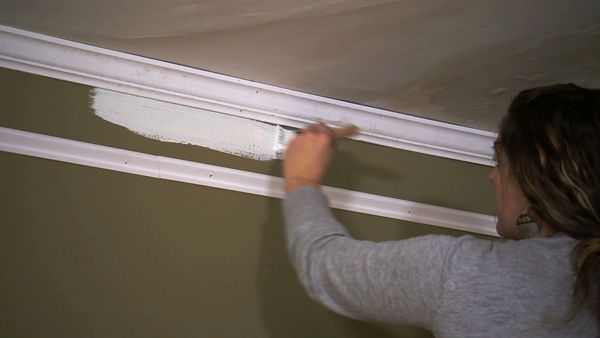
Finish With A Coat Of Paint